Restoration guide
Here we're going to walk through an armshell shock mount move and restoral.
First of all, in this instance I had run across some orange armshells that were set up as 'wide mount'. The first thing that needs to be done is remove the old mounts.
I've heard a couple ways to go about this such as tightening the bolt all the way down to pull the mount off (which I do not suggest as it can crack the fiberglass on the other side very easily). The way I go about it is to take a sharp flat head screw drive and a rubber mallet and tap around the outside to remove all visable epoxy, then lightly tap under the mount and pry lightly up around the sides untill the mount losens and comes off easily.
After all the shock mounts have been removed, you'll need to get rid of any existing epoxy left on the chair. I do this by using a coarse sandpaper on an orbital sander to get the majority off, then switch to a medium then to fine for the finish.
Once that work has been completed it's time to mount the shocks to the standard narrow mount, so it will be able to take any or the various bases available. For this I use a spider base from a tandem set up. I've found it to be the best way to get an accurate lay out of the mounts.
I first attach the mount directly to the spiderbase finger tight. Make sure that they center in the holes. Then with the chair upside down, place the spiderbase set up onto the chair so that the shock mounts line up on the 'flat spots' already on the chair for the narrow mount.
Once that is set and centered outline the outsides of the shock mounts with a marker.
You now have an accurate mark for where to place your mounts. You can use just about any two part epoxy to mount your shocks. I've found that JB Weld Quick set seems to work the best for me and looks most original after the fact.
Mix enough of the epoxy so that you can get at least 4 quarter sized globs.
This epoxy sets quick, you only have a couple minutes once you place it on the chair to get your mounts in place. So be hasty when placing your mounts. The reason I suggest a quick set epoxy over one that takes 8 hours to set is because your mounts will drift out of place with other such epoxies unless you keep them held into place.
Once you have them set in place keep them held there for a good 5 minutes to make sure your mounts dont float out of place.
After the 5 or 10 minutes, remove the screws and the spider base from the mounts and let the epoxy cure over night.
You want to remove the screws before it completely cure as to avoid the screws being epoxied to the mounts.
As far as moving the shocks goes, you're done. Next we will be restoring the fiberglass back to original lustre.
Here we start be smoothing the edges with a fine wet sand. For the wet sand get a squirt bottle, put a couple drops of dish soap on the botton and fill up with warm water. Wetting the area as you sand will prevent fiberglass dust from getting everywhere and save you and your lungs from an uncomfortable itch.
Go around the edges and smooth them out, then move to the rest of the chair doing a fine wet sand to the entire area, until the entire chair is smooth.
Once the entire chair has been done, rinse it off with water to get rid if any of the exsisting dust and let it air dry. Drying with a cloth will leave fibers that will show up in the coating process later.
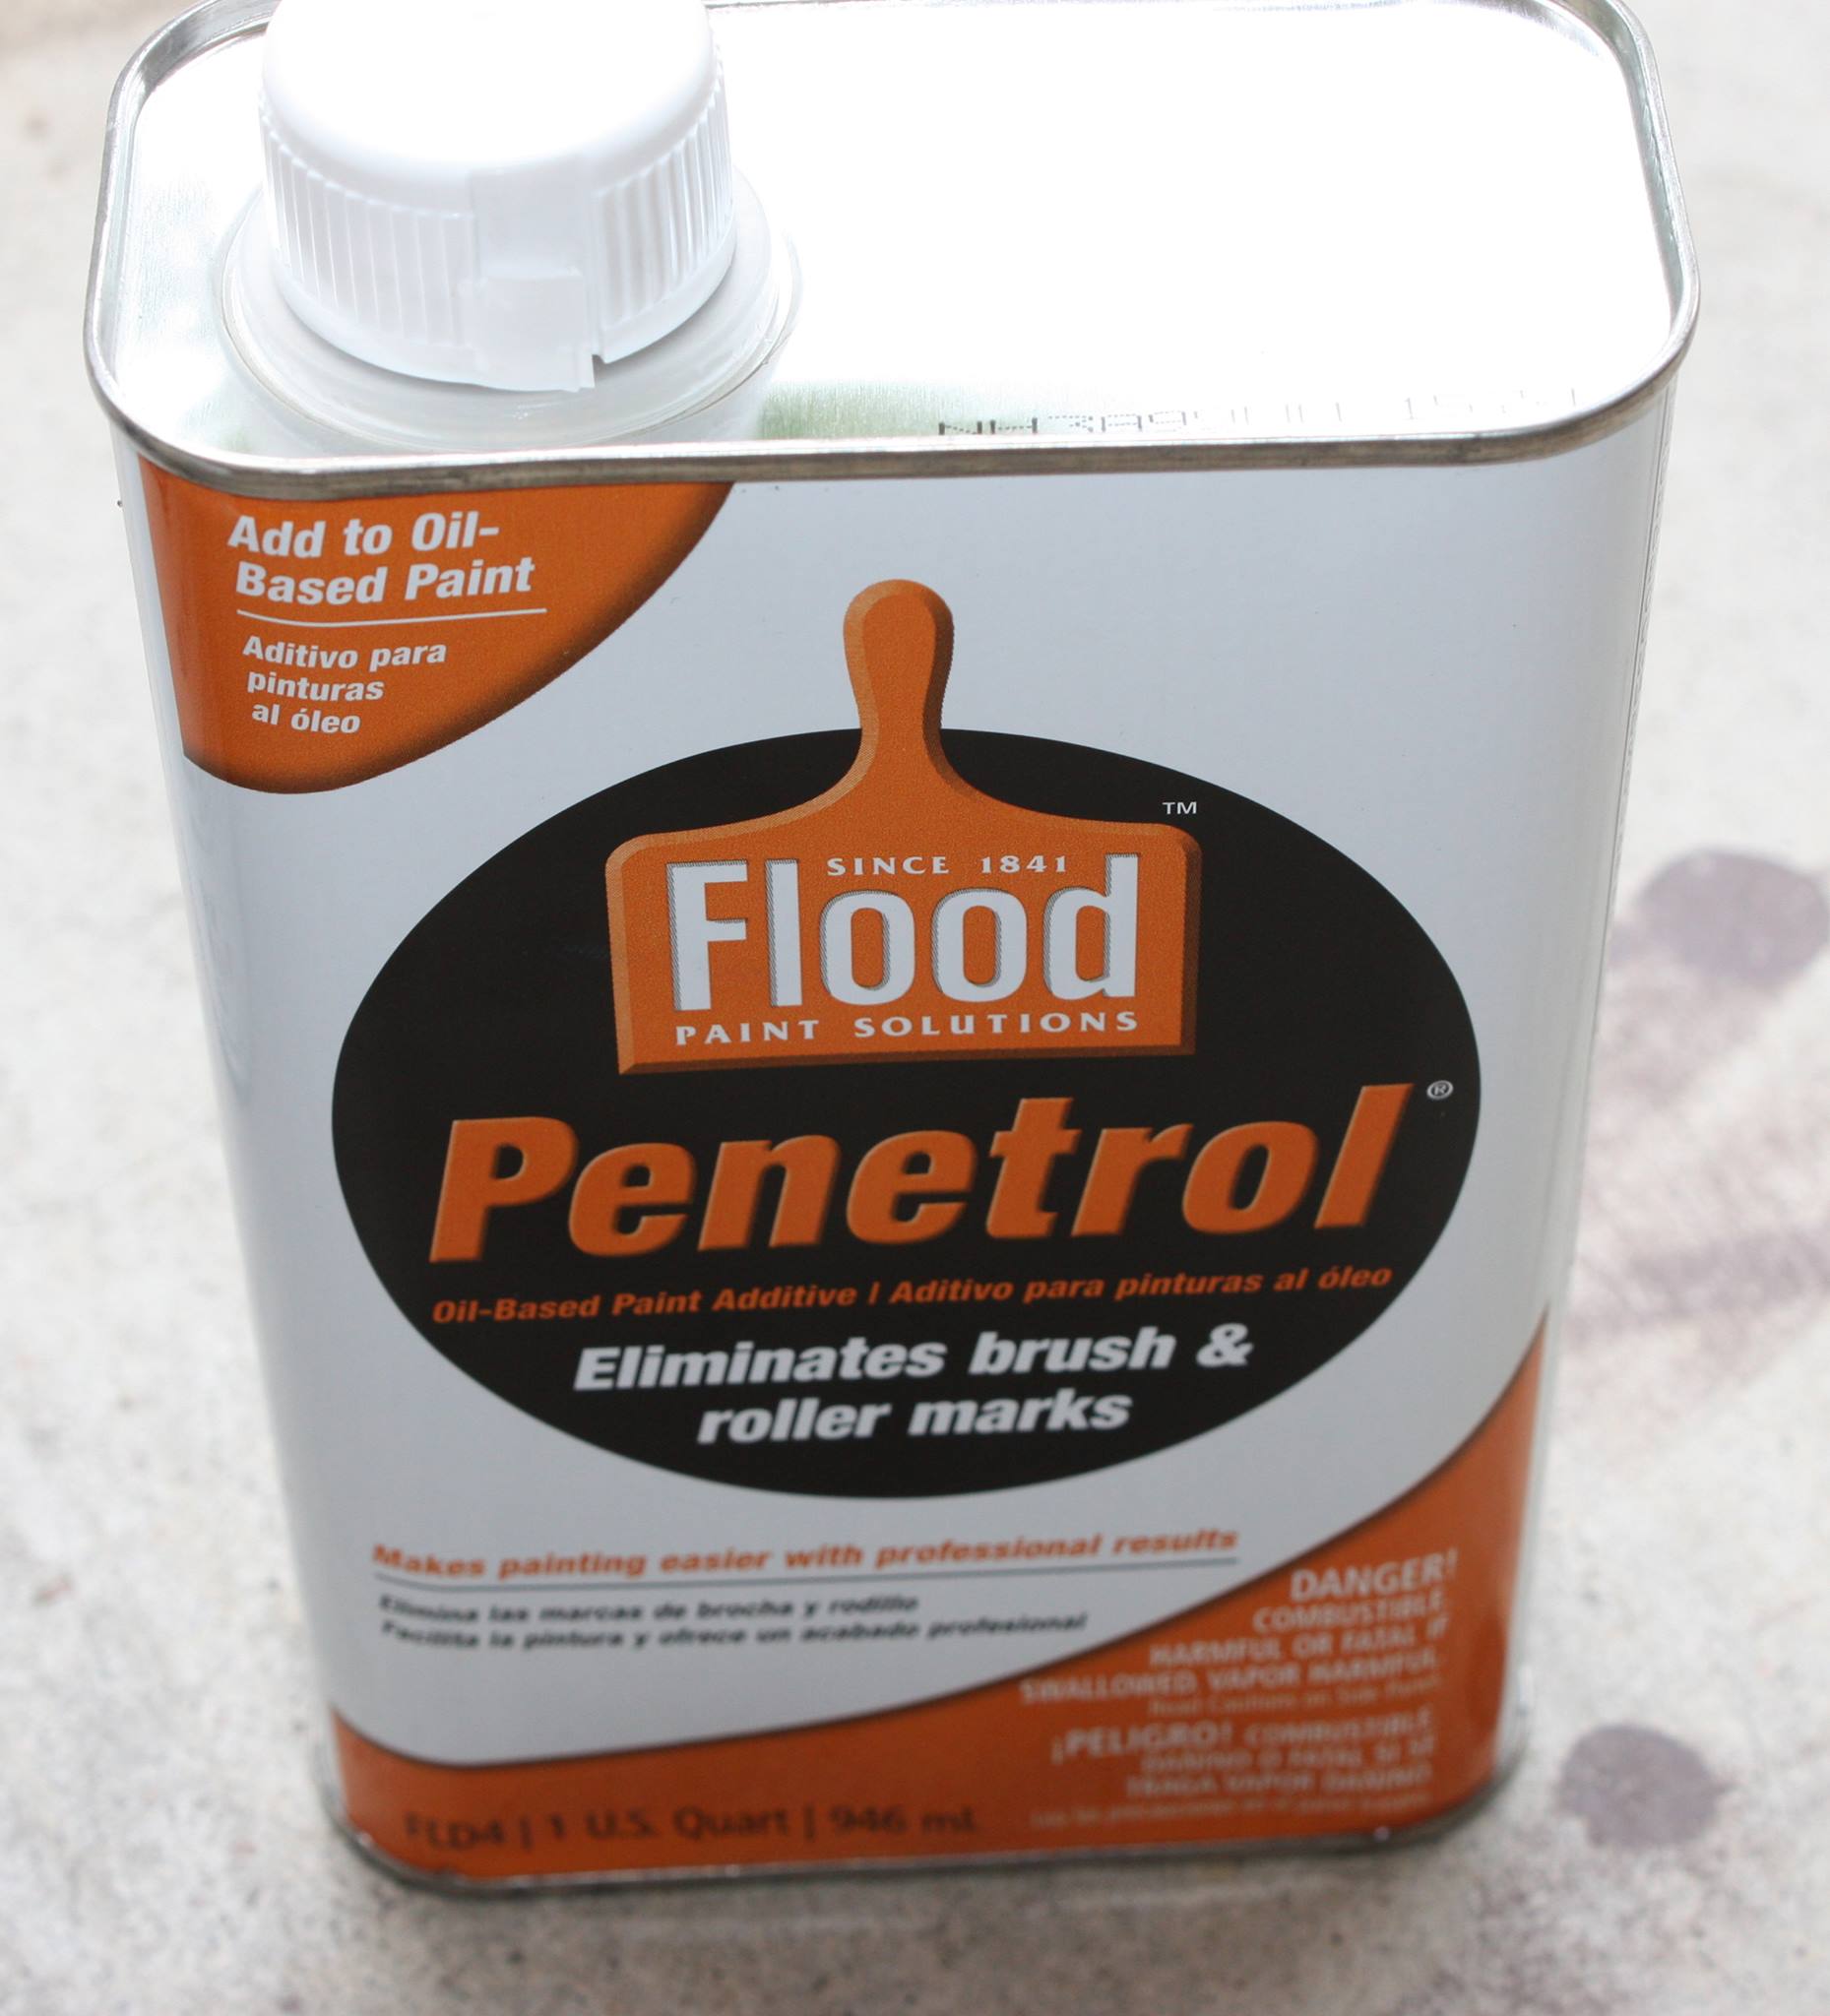
The chair is now ready to coat. For this I use a product called 'Penetrol'. This can be picked up at any home center, is used to restore fiberglass and has many other uses such as an oil paint conditioner.
You can get this from Amazon:
USA: Buy Penetrol
UK: Buy Penetrol

Make sure and wear gloves while applying Penetrol, you don't want to get this on your hands or anything else as it's next to impossible to get off.
Use a lint free cloth for application. Soak the cloth in the Penetrol so that it is fully saturated.
Apply the Penetrol liberally so that it will not leave streaks. Make sure that you don't put so much on as to cause dripping or sags though. It may take a little practice.
Apply first to the bottom of the chair, let it it set for a couple hours then attach the base, flip the chair over on it's base and apply to the rest of the chair.
Once it has been applied, place the chair in a safe dust free enviroment and let it cure for a couple days. Penetrol take quite a while to dry as it's an oil based product. This as well makes it stronger and much more durible than a standard clear coat.
**NOTE** I do not recommend that penetrol is used on white shells, as it will yellow slightly over time. In that case I'd use a standard clearcoat.
Once your chair has cured, it's ready for use and will look like new for years to come.
